Getting started
Introducing: the portal
Section titled “Introducing: the portal”The portal is your window into your processing steps and workflows. Here you can view available processing steps, configure WorkData, create workflows, and view the status of running jobs.
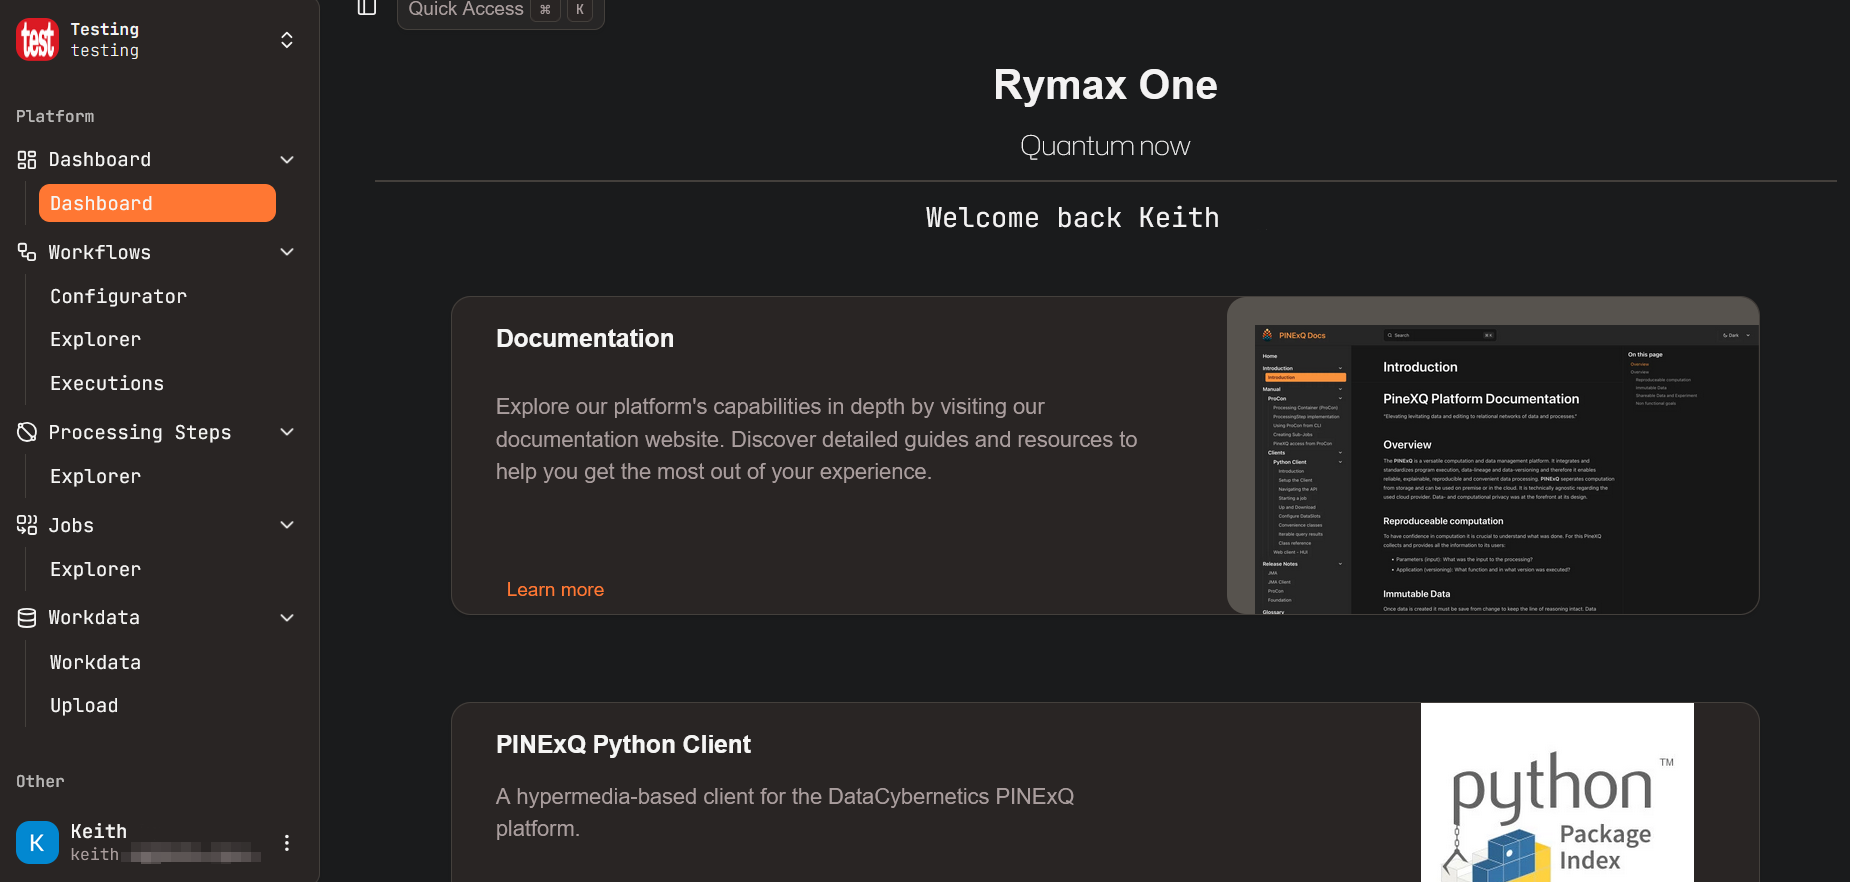
The sidebar on the left links to the resources available on the portal. On the top-left is your organization; on the bottom-left, your account.
Getting an API key
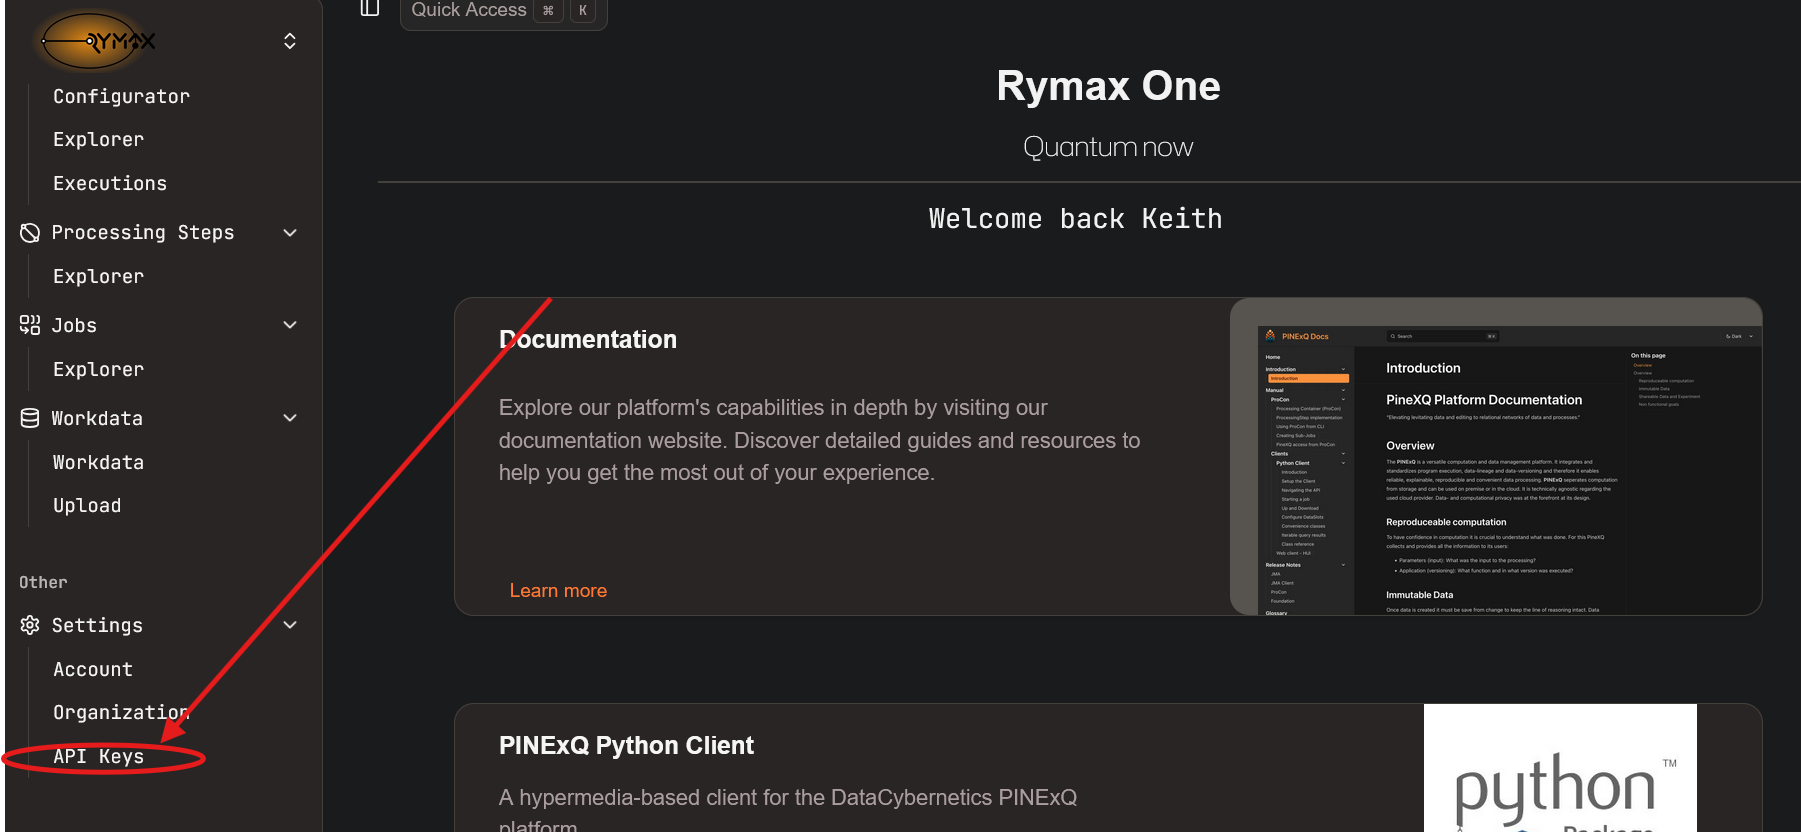
Section titled “Getting an API key”To get started, you will also need to create an API key. This API key will be used to authenticate with our JobManagement service. First, ensure that your organization is not selected on the sidebar; this will allow you to create a personal API key. Then, go to settings, and then “API keys”:
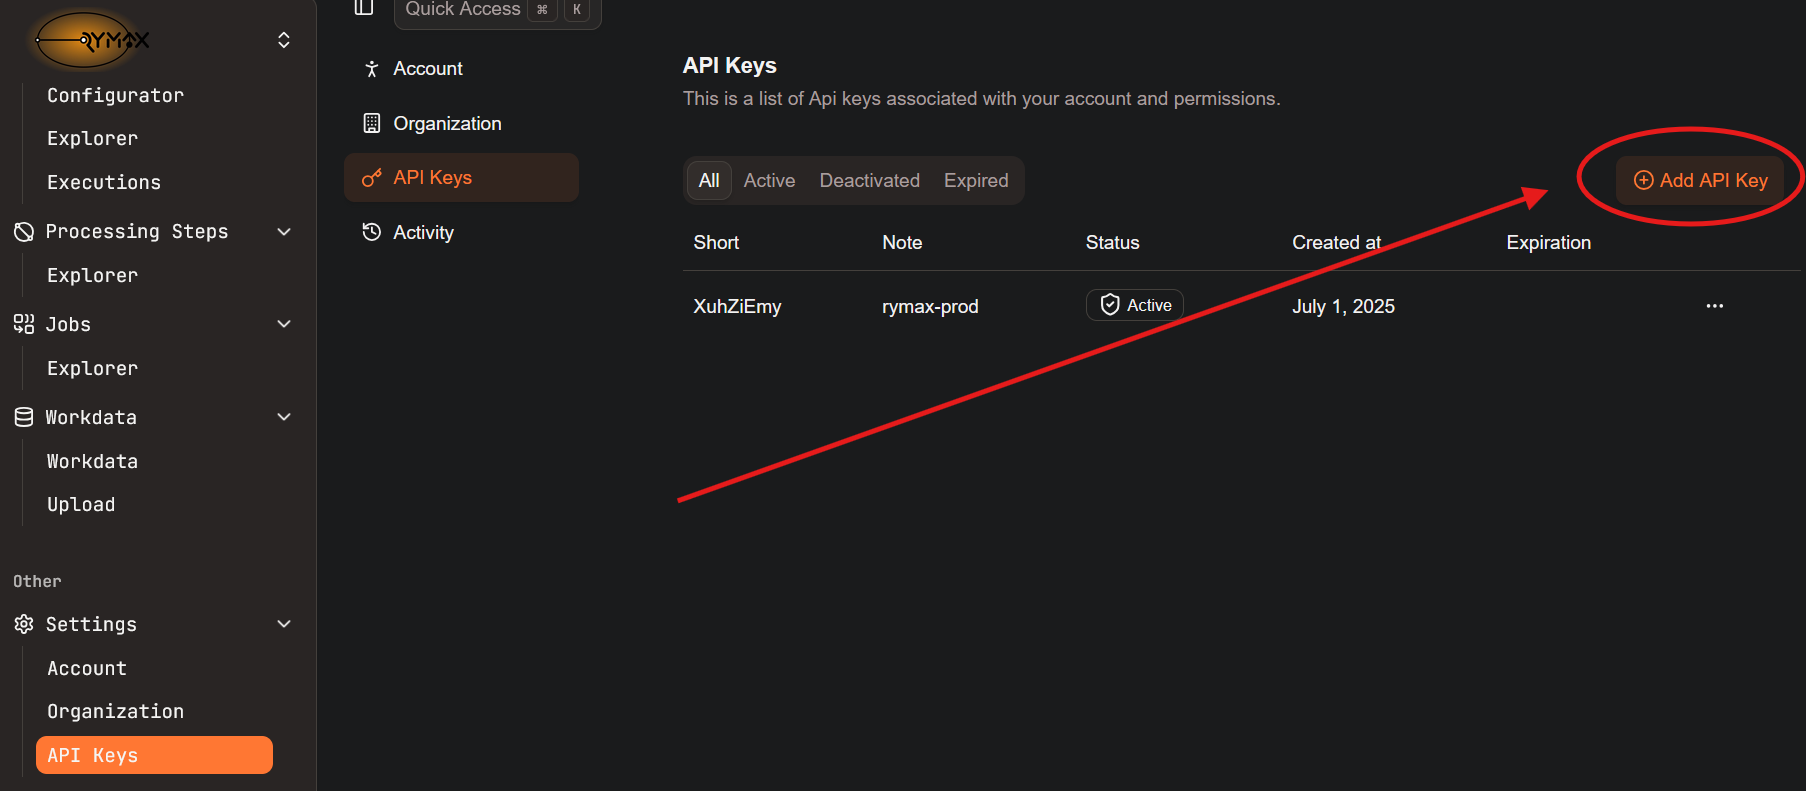
After creating your API keys, you will see them listed here. Note that only the shortened version is shown. Next, on the right, click “Add API Key.”
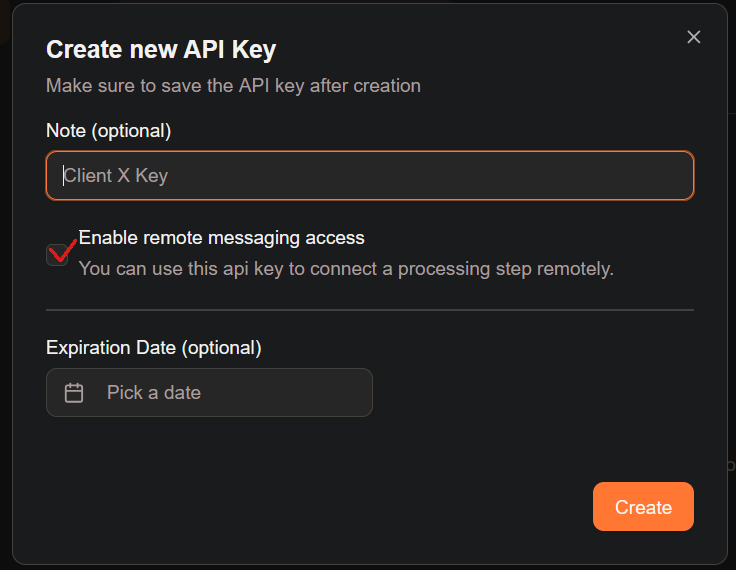
You will now see a popup asking you to configure your API key. Remote messaging access is an advanced option allowing for connecting external workers to our JobManagement service; that is, you can host a worker on your computer, while connecting to our JobManagement service.
After creating an API key, you will see a window allowing you to copy it. Keep in mind that the API key will only be displayed once. Copy-paste it and save it! If you close this window without saving the API key, or lose it, you will need to create another one. Consider using a password-management service, an environmental variable, or some other secret store to save your API keys.

An organization API key is created in a similar way to a personal API key. Logging in as your organization will allow you to see and use your organization’s ProcessingSteps and WorkData.
Starting a job
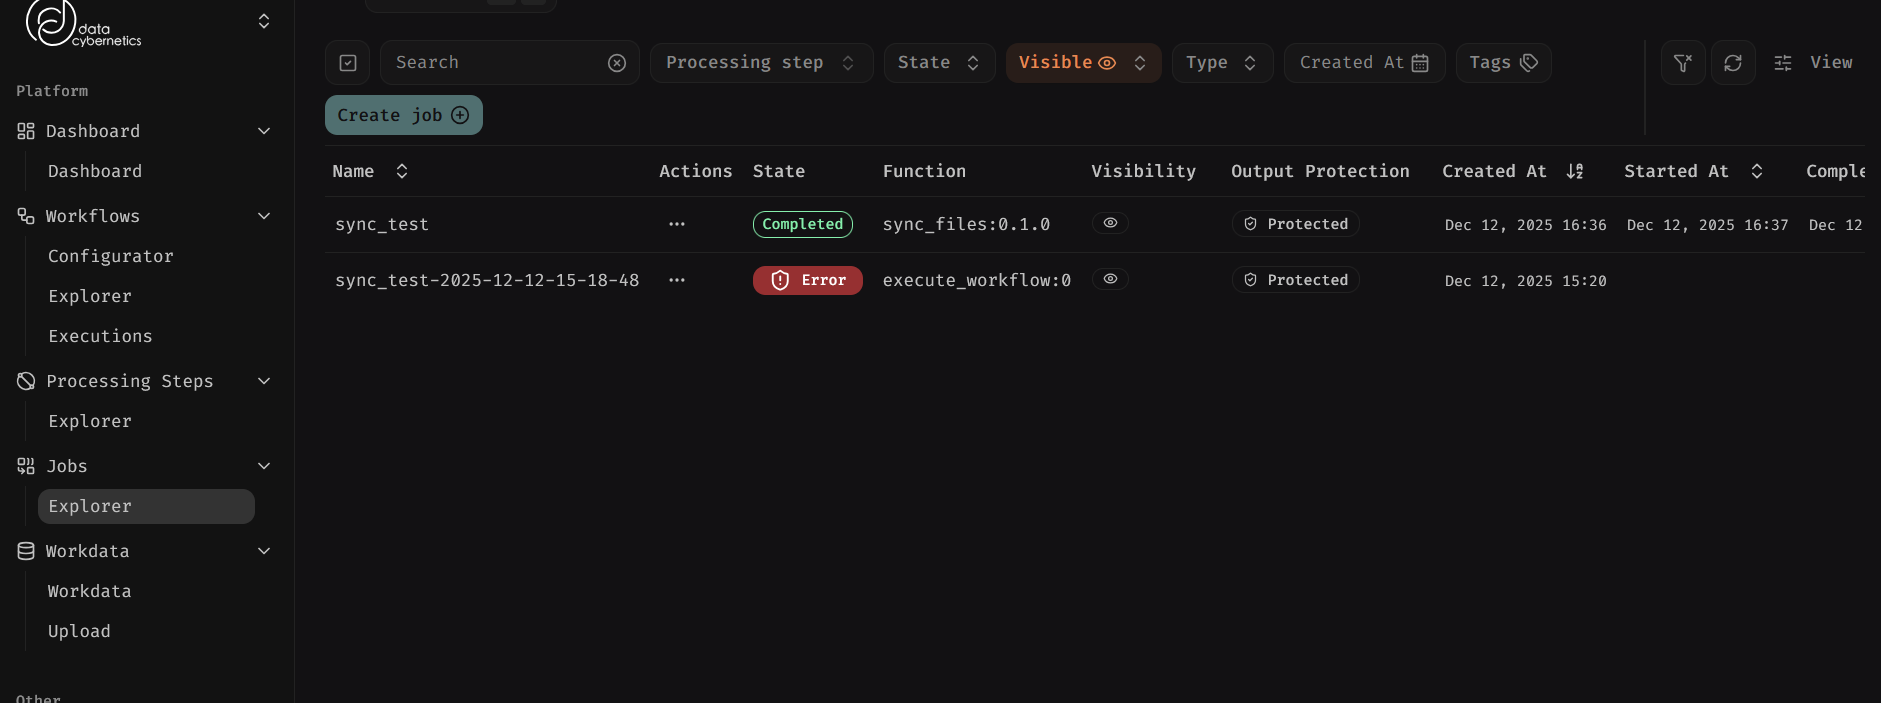
Section titled “Starting a job”In order to run a ProcessingStep, you can submit a Job on the portal. Navigate to the “Jobs: Explorer” tab on the sidebar. Your queued and completed jobs will be listed here; for now, click “Create Job”.
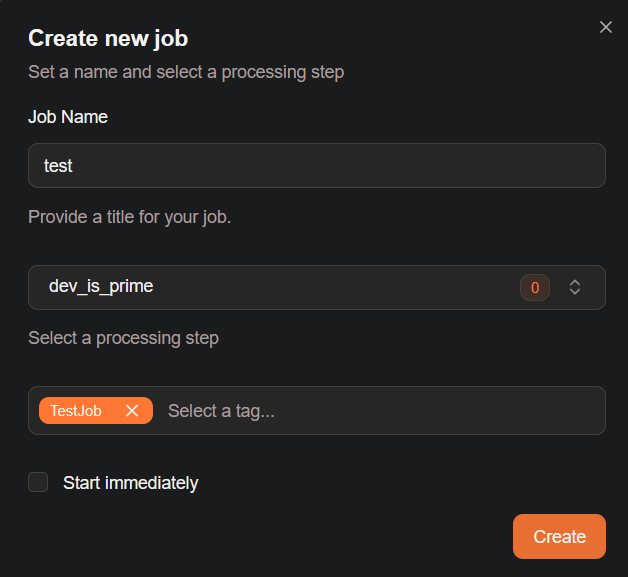
You will now be prompted to name your Job, pick a ProcessingStep, and optionally some tags. If your selected ProcessingStep has no parameters or inputs, you can check “Start immediately”; otherwise, leave this unchecked. You will then be able to navigate to your Job. For now, pick “dev_is_prime”.
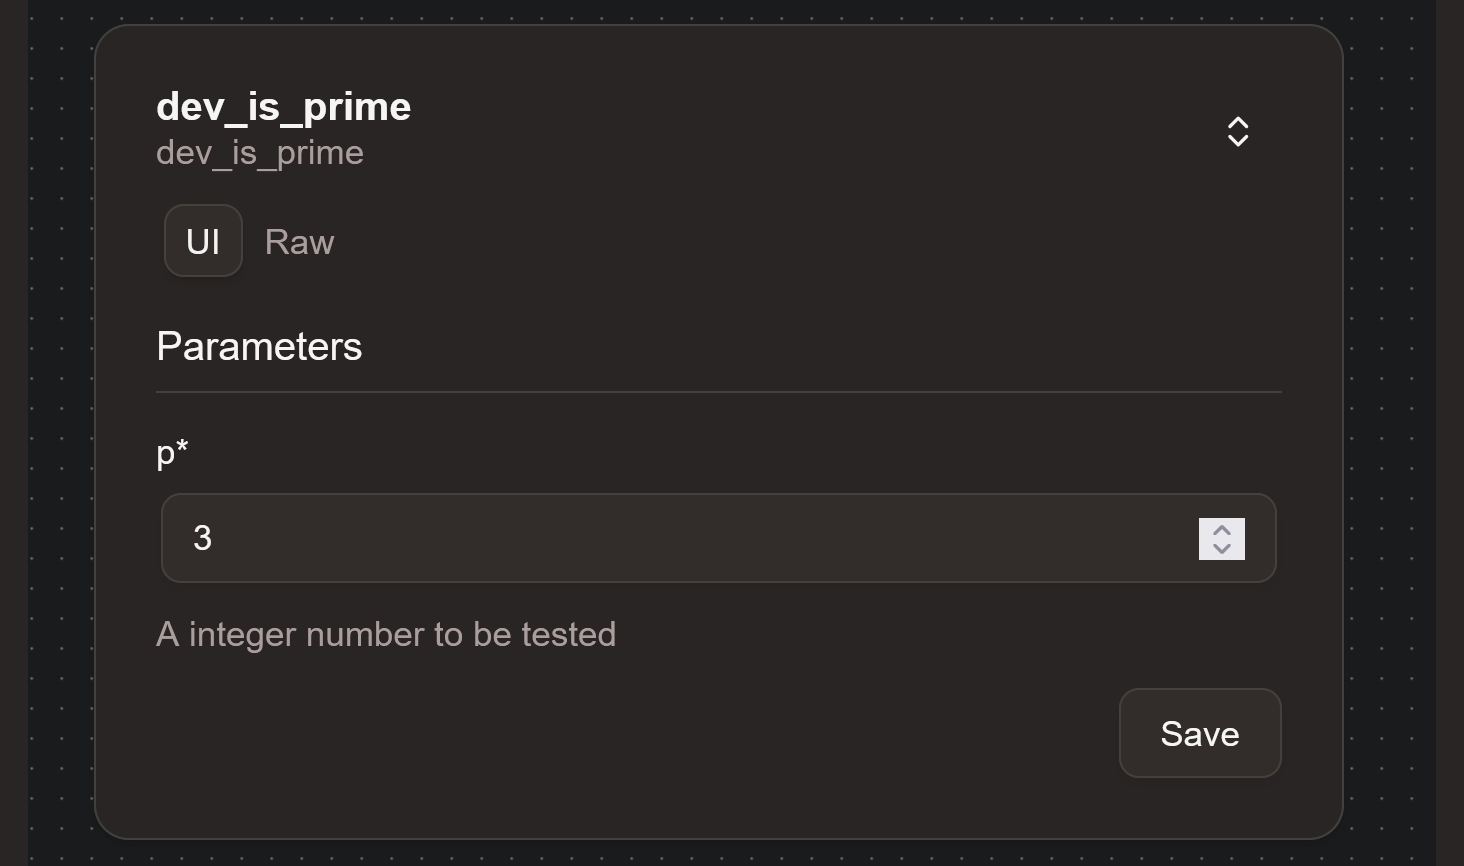
Before running your Job, you will need to configure any input data and parameters it might require. Scroll down to the “Processing step” pane and set parameters there; then scroll back up and click the “play” button to run your Job.
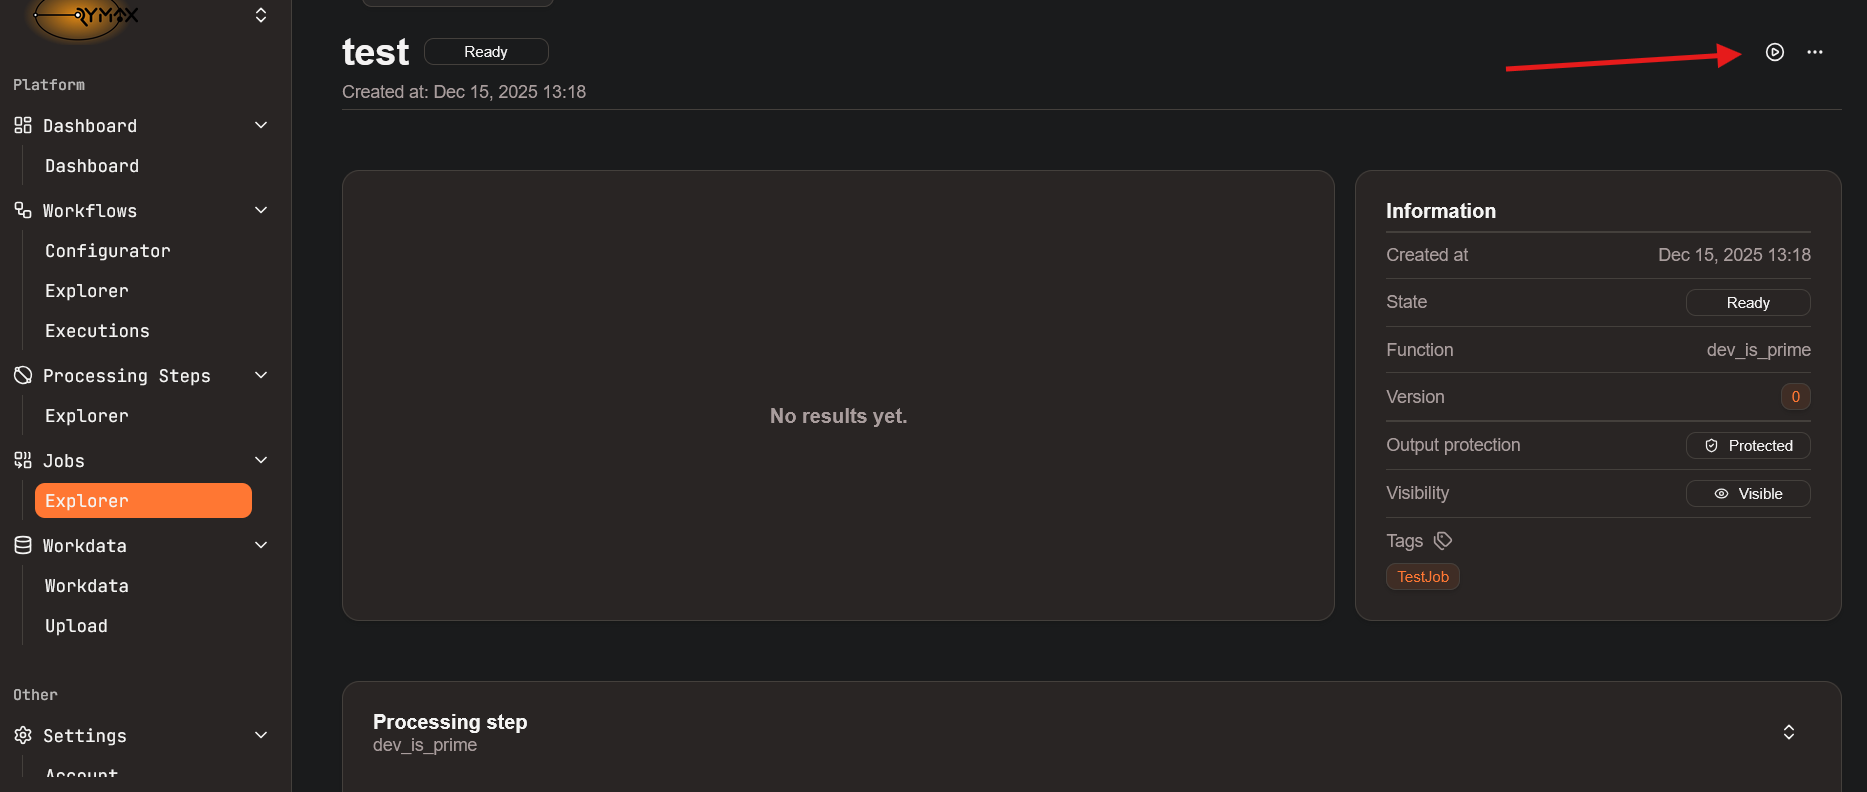
Congratulations! You have run your first Job on PineXQ.
Next steps
Section titled “Next steps”The portal provides many functionalities which we have documented here, such as:
- Configuring and executing workflows
- Exploring available ProcessingSteps, including those you have implemented and deployed.
- Viewing running and completed Jobs
- Exploring and uploading WorkData
Certain other tasks, such as starting multiple Jobs at once, are more easily handled via the API.